Skip to content
Prerequisites:
- Download and Install VMware: Use a tool like Etcher to create a live USB drive from the downloaded ISO.
- For Windows:
https://www.vmware.com/go/getplayer-win
- For Linux:
https://www.vmware.com/go/getplayer-linux
- Download the Arch Linux ISO: Head over to the official Arch Linux website and download the latest ISO image.
- h
ttps://mirror.4v1.in/archlinux/iso/2024.04.01/archlinux-2024.04.01-x86_64.iso

Step 1: Setting Up VMware
- Open VMware and create a new virtual machine.
- Choose “Linux” as the guest operating system and select “Other Linux (64-bit)” as the version.
- Allocate 2GB RAM and 100GB disk space for your virtual machine.
- Ensure you will select Network Adapter NAT to Bridged
- Follow the prompts to create the virtual machine, ensuring to attach the Arch Linux ISO file as the installation media.

Step 2: Booting into Arch Linux Live Environment
- Start the virtual machine and boot from the Arch Linux ISO.
- Once booted, you’ll be presented with the Arch Linux command prompt.

Step 3: Check & Sync Database
- Use the Ping command
ping google.com
- Sync Database Using
pacman -Sy
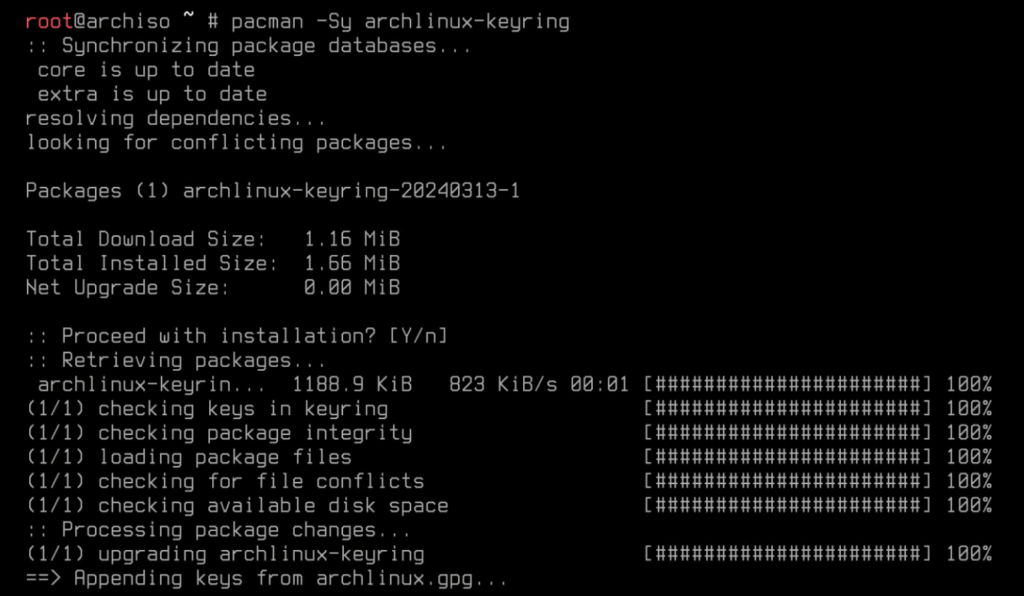
- Also update arch linux keyring using
pacman -Sy archlinux-keyring

Step 4: Installing Arch Linux
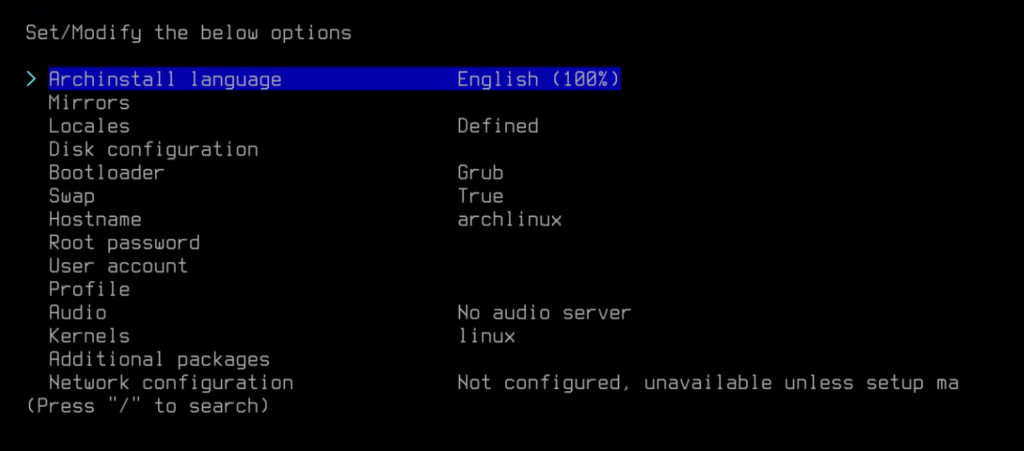
- Use
archinstall
- Now it will take some time to configure the environment for the installing arch linux.
- After configuration there will be option install, select install option.

Step 5: Finalizing the Installation
- Exit the chroot environment use
exit
- Reboot the virtual machine and remove the installation media.
- Log in to your newly installed Arch Linux system.


